Bitcoin Miner Setup
A successful bitcoin miner setup is about much more than just plugging in a machine. It’s a careful balancing act between the upfront cost of hardware, your ongoing electricity expenses, and the reliability of your network. At its heart, you’re taking a specialized piece of hardware—an Application-Specific Integrated Circuit (ASIC) miner—powering it up, and connecting it to a mining pool. Done right, that box becomes a real, cash-flowing asset.
Foundations of a Profitable Mining Operation
Before you even think about unboxing your new equipment, you have to get a firm grip on the real-world economics and logistics. It’s less of a tech hobby and more like running a small business where electricity is your single biggest operating cost. Success really hinges on understanding the core components and the market you’re stepping into.
Every single mining operation, from a single unit in a garage to a massive farm, boils down to three essential elements:
- The ASIC Miner: This isn’t a regular computer. It’s a machine built for one job and one job only: solving the complex math problems that secure the Bitcoin network. Its performance is the engine of your whole operation.
- A Robust Power Supply Unit (PSU): ASICs are incredibly power-hungry. You need a high-quality PSU that can safely and efficiently feed the miner the constant wattage it demands, 24/7, without fail.
- A Stable Internet Connection: You don’t need blazing-fast download speeds, but you absolutely need a low-latency, rock-solid connection. Any interruption means you’re not submitting work to the mining pool, which means you’re not getting paid.
Understanding the Market Forces
Here’s a dose of reality: your daily earnings aren’t set in stone. They swing based on a few key market factors you need to keep a close eye on. The big ones are the network hashrate—the total computing power of every miner on the network—and network difficulty, which constantly adjusts to keep blocks coming out roughly every 10 minutes.
When more miners come online, the total hashrate goes up, which forces the difficulty to rise. This means your miner’s slice of the pie gets smaller, making it harder to earn rewards. This economic reality is precisely why efficiency, measured in hashes per watt of electricity, is king. To get a better handle on the numbers, it’s worth digging into the components that make up the total bitcoin mining cost.
Your Physical Location Matters
Where you put your miner is just as critical as the hardware itself. This is a step I see newcomers overlook all the time, and it often leads to expensive, preventable mistakes.
The two most common points of failure for a home bitcoin miner setup are heat and power. An ASIC kicks out an incredible amount of heat and noise, and your standard home electrical circuit probably wasn’t designed for its continuous, high-wattage pull.
You have to plan your physical space carefully. Your focus should be on:
- Ventilation and Heat Management: These machines run hot. You have to get that heat away from the unit to prevent it from throttling or, worse, frying itself. This usually means dedicated exhaust fans or setting it up in a cool, well-ventilated space like a garage or basement.
- Noise Abatement: An ASIC is loud. Think vacuum cleaner loud, but running 24 hours a day. That’s not something you want in your living room or office. Find a spot where the constant hum won’t drive you or your family crazy.
- Electrical Infrastructure: A standard 120V wall outlet often won’t cut it. Many of the more powerful ASICs require a 240V circuit, the same kind you’d use for an electric clothes dryer, to run safely and at peak efficiency.
The geographic location of your setup also plays a massive role in your profitability, mostly because of how much energy costs vary from place to place. This has caused a huge shift in the global mining map. The United States now accounts for roughly 37.84% of the Bitcoin network hashrate, with states like Texas and Georgia becoming hotspots thanks to their competitive energy markets. You can see how this plays out globally by checking the latest bitcoin mining data by country.
In summary, a profitable mining operation starts long before you plug anything in. It’s about securing the right hardware, understanding the market, and preparing a physical space that can handle the intense demands of power and cooling.
Selecting the Right Bitcoin Mining Hardware
The Application-Specific Integrated Circuit (ASIC) miner is the heart of your entire Bitcoin mining setup. Let’s be clear: choosing the right model isn’t just a technical detail. It’s the single most important financial decision you’ll make, setting the stage for your potential profitability from day one. This goes way beyond just grabbing the newest or most expensive machine you can find.
To pick hardware like a pro, you need to zero in on three core metrics. These numbers define a miner’s performance and, ultimately, its ability to actually make you money.
- Hashrate (TH/s): This is the machine’s raw horsepower. It tells you how many trillions of calculations (hashes) it can perform every second. A higher hashrate means you solve more of the puzzle, earning you a larger slice of the mining pool’s rewards.
- Power Consumption (Watts): This is what the miner pulls from the wall. Since electricity is your biggest ongoing expense, a lower number here is always better for your bottom line.
- Efficiency (J/TH): This is the king of all metrics for long-term profitability. It measures the energy consumed (in Joules) to produce one Terahash of power. A lower J/TH value means the miner is more efficient, which translates to more of your earnings staying in your pocket instead of going to the power company.
How to Actually Analyze the Specs
When you’re staring at a spec sheet from a manufacturer like Bitmain (famous for their Antminer series) or MicroBT (the Whatsminer line), you’re looking for the perfect balance between those three numbers. A monster hashrate is completely useless if its power consumption is so high that your electricity bill eats every last satoshi you earn.
The real goal isn’t just to find the most powerful miner, but the most efficient one your budget allows. An older, less efficient model might look like a bargain upfront, but it can become unprofitable much faster as the network difficulty climbs. A more efficient miner, on the other hand, can keep chugging along profitably for years.
The hardware landscape is always shifting, but a quick comparison can show you the kind of trade-offs you’ll be making.
Comparing Popular ASIC Miners for Home Setups
Here’s a side-by-side look at some leading ASIC models to help you understand how they stack up based on efficiency, raw power, and electricity draw.
| ASIC Model | Hashrate (TH/s) | Power Consumption (W) | Efficiency (J/TH) | Best Suited For |
|---|---|---|---|---|
| Bitmain Antminer S19 Pro | 110 | 3250 | 29.5 | Miners with competitive electricity rates seeking a balance of power and proven reliability. |
| MicroBT Whatsminer M30S++ | 112 | 3472 | 31.0 | Operations that prioritize raw hashrate and have the infrastructure to support higher power draw. |
| Canaan AvalonMiner 1246 | 90 | 3420 | 38.0 | Entry-level miners looking for a lower initial cost, understanding it comes with lower efficiency. |
| Bitmain Antminer S19 XP | 140 | 3010 | 21.5 | Serious miners focused on maximizing long-term profitability with best-in-class efficiency. |
This table illustrates the give-and-take. The Antminer S19 XP offers incredible efficiency (21.5 J/TH), but it comes with a premium price tag. In contrast, an older model might be cheaper to acquire but will cost you more in electricity every single day.
Hands-On Physical Setup and Safety
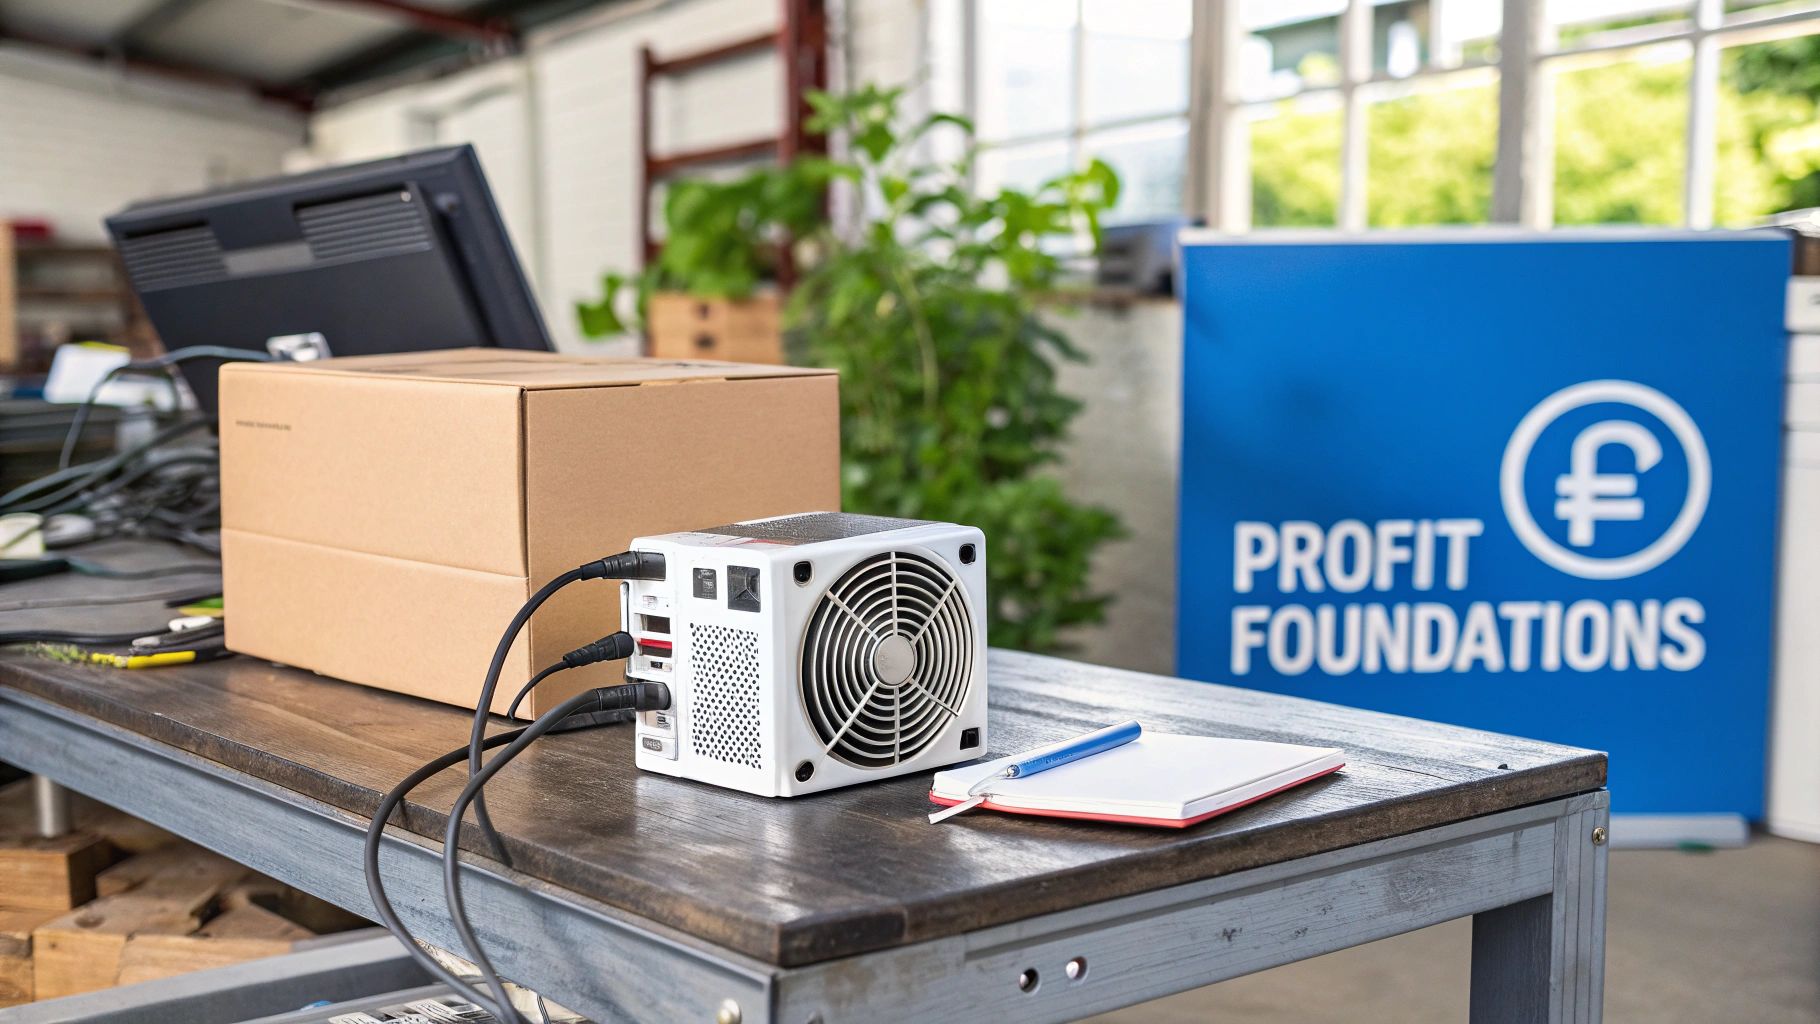
Once that heavy box arrives, it’s time for the physical setup. This part is pretty straightforward, but you absolutely cannot afford to cut corners—safety and proper operation depend on it.
First, unbox the miner and give it a thorough inspection. You’re looking for any signs of shipping damage, like dents in the metal casing or loose components rattling around inside. Most ASICs come as two main pieces: the miner itself and a separate Power Supply Unit (PSU).
Here’s a numbered list for the wiring process:
- Connect the PSU: Carefully attach the PSU’s power connectors to the miner’s control board and hashing boards. They should click securely into place.
- Plug in the Power Cord: Use a heavy-duty power cord to connect the PSU to your outlet. Here’s the critical part: most modern ASICs require a 240V circuit, not the standard 120V outlet in your wall.
- Plug in the Ethernet Cable: For a stable connection, run an ethernet cable directly from the miner to your router or a network switch. Don’t rely on Wi-Fi here.
You cannot overstate the importance of electrical safety. These machines draw a massive, continuous load of power. Plugging a 240V miner into a 120V circuit is a serious fire hazard and will almost certainly fry your expensive new hardware. Make sure your circuit is rated to handle the load, invest in a quality surge protector, and if you have any doubt whatsoever, call a licensed electrician. It’s a small price to pay for peace of mind.
While some people have played around with experimental setups, you can get a sense of the challenges involved by reading our guide on Bitcoin mining with a Raspberry Pi. For any serious mining operation, though, only a dedicated ASIC with proper electrical support is going to work.
To sum up, choosing the right hardware is a financial calculation, not a technical one. Prioritize efficiency (J/TH) over raw hashrate, and never compromise on electrical safety during the physical setup.
Configuring Your Miner for the Bitcoin Network
With your hardware humming away, it’s time to bridge the gap between your physical setup and the digital world of Bitcoin mining. This next part is all about software configuration—the commands that turn your expensive box of silicon from an inert piece of tech into a productive, hash-cranking asset. It’s a less hands-on, but no less critical, piece of the bitcoin miner setup puzzle.
Getting Connected: The First Handshake
The first challenge, and a common stumbling block for newcomers, is simply finding your miner on your home network. When you power it on, your router assigns it an IP address, but it doesn’t exactly send you a notification. You’ll need to play detective. The easiest way is to log into your router’s admin panel and look at the list of connected devices. You’re looking for a new, unrecognized device, often identifiable by its MAC address.
Once you’ve got that IP address, just pop it into your web browser. This brings up the miner’s built-in web interface, your command center for everything that follows. It might look a bit intimidating at first, but don’t worry—we only need to focus on a few key settings to get you up and running.
This three-step flow gives you a high-level look at the journey from unboxing to going live.
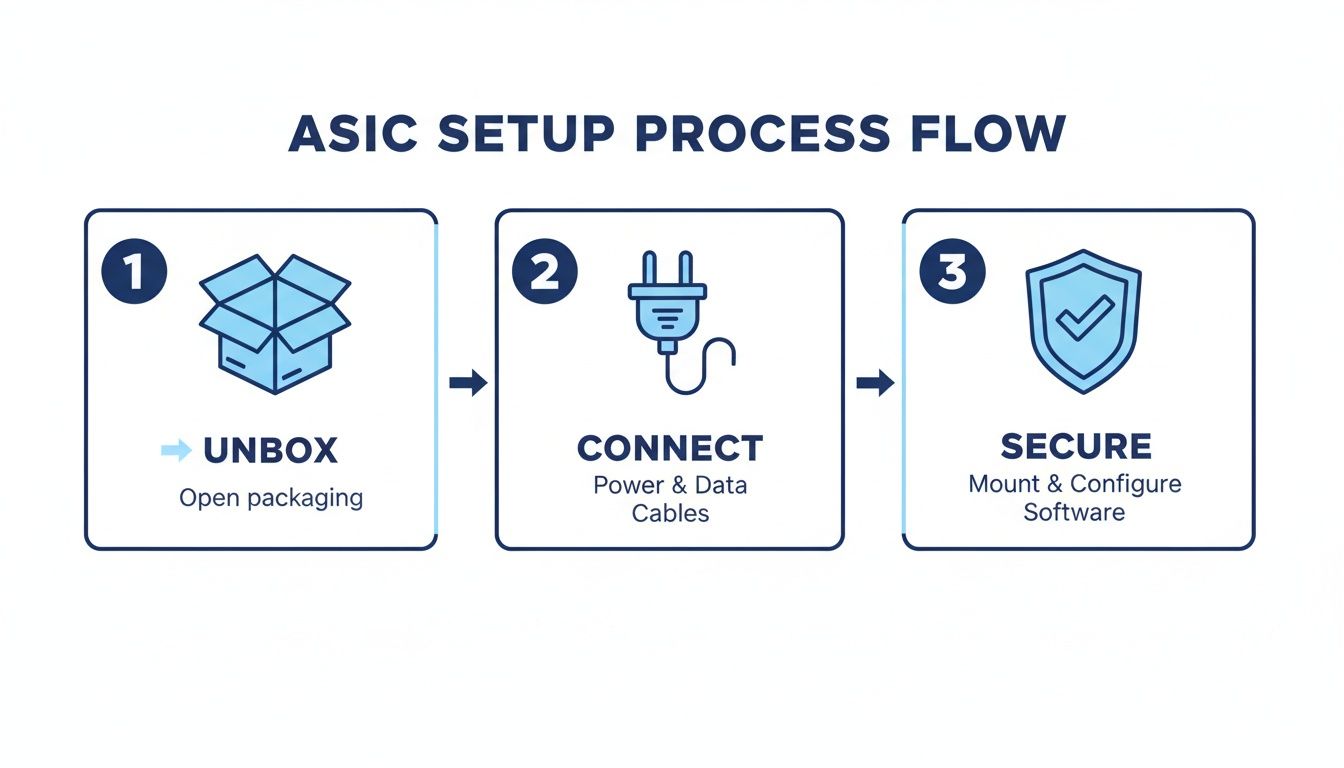
As the graphic shows, it’s a logical move from physical assembly to software configuration and finally, securing your operation.
Pointing Your Hashrate to a Mining Pool
Inside the web interface, your main target is the “Miner Configuration” or “Pool Settings” section. This is where you tell the ASIC where to send its work. If you mess this part up or leave it blank, your machine will be hashing for absolutely no reason, earning you nothing.
You’ll see three fields that need precise information from your chosen mining pool:
- Stratum URL: This is the server address for the pool. It’s a specific address that usually starts with
stratum+tcp://and acts as the destination for all your miner’s hard work. - Worker Name: Think of this as a unique nickname for your machine so the pool can track its contributions. The format is typically
YourPoolUsername.WorkerName, likeSatoshiN.AntminerS19-01. - Password: Don’t overthink this one. For most pools, it isn’t a security feature. The password is often just
xor123. Always double-check your pool’s specific instructions, but it’s rarely complex.
Getting these three settings exactly right is non-negotiable. A single typo in the Stratum URL or a misplaced period in the Worker Name will cause the connection to fail, leaving you with zero earnings. I always copy and paste directly from my pool’s dashboard to avoid any mistakes.
Once you’ve entered the details, hit save. The miner will apply the settings and likely restart. Give it a few minutes, then check its status page—you should see it hashing away. The real confirmation, though, comes from your mining pool’s website. Seeing your worker pop up on the dashboard as “active” is the moment your rig officially starts making money.
To Update Firmware or Not to Update?
Somewhere in the control panel, you’ll find an option for firmware updates. Firmware is the foundational software that tells the hardware how to operate. Manufacturers sometimes release updates to patch bugs, improve efficiency, or add new features.
But hold on before you click “update.” This isn’t like updating an app on your phone. A failed firmware flash can “brick” your ASIC, turning a multi-thousand-dollar machine into a very expensive paperweight.
Here’s my mental checklist for deciding whether to update:
| If My Miner Is… | Then I… | Because… |
|---|---|---|
| Running smoothly and profitably | Do not update | The classic “if it ain’t broke, don’t fix it” philosophy is king here. Introducing risk for no tangible benefit is a bad trade. |
| Crashing, rebooting, or has high errors | Consider updating | An unstable machine is a liability. A firmware update might contain the exact bug fix you need to restore stability and hashrate. |
| A major new feature is released | Evaluate the reward vs. risk | If an update promises a significant 2-3% efficiency gain, that could be worth the small risk. I’ll read forums and see if others have had success before I pull the trigger. |
Think of firmware updates as a strategic tool, not a routine chore. Unless you’re trying to solve a specific, persistent problem, the safest (and often smartest) move is to stick with the stable firmware it came with. Minimizing downtime is the name of the game.
Choosing the Best Bitcoin Mining Pool
Let’s be blunt: for almost any individual miner, trying to go it alone is a surefire way to burn through electricity with nothing to show for it. The odds of a single miner solving a block and winning the reward are astronomically small. That’s why joining a Bitcoin mining pool isn’t just a good idea—it’s the only practical way to earn a consistent income. It turns what would be a lottery ticket into a predictable revenue stream.
Picking the right pool is a major strategic decision that directly hits your bottom line. It’s about much more than just finding the lowest fee. You need to align the pool’s entire structure with your personal risk tolerance and financial goals.
Understanding Payout Models
The biggest difference between pools comes down to how they slice up the rewards. This isn’t a minor detail; it fundamentally changes how and when you get paid. Two models really dominate the landscape: Pay-Per-Share (PPS) and Pay-Per-Last-N-Shares (PPLNS).
- Pay-Per-Share (PPS+): If you crave predictability, this is your model. The pool pays you for every valid “share” your miner submits, period. It doesn’t matter if the pool actually finds a block on any given day. You get a guaranteed, steady income based purely on your hashrate. The trade-off? The pool operator shoulders all the risk and charges a higher fee to cover their bases.
- Pay-Per-Last-N-Shares (PPLNS): This model is more of a partnership with luck. Payouts happen only when the pool successfully mines a block. Your piece of the pie is then calculated based on the shares you submitted during a recent time window—the “last N shares.” This method introduces more variance, so your income will definitely fluctuate. But for many miners, it often leads to higher long-term payouts thanks to the lower fees.
The choice between PPS+ and PPLNS is the classic risk-versus-reward scenario. If you need stable, predictable daily income to cover your power bill, PPS+ is the safer bet. If you can stomach some income volatility for a potentially bigger pot at the end of the rainbow, PPLNS is often the more profitable path over time.
A Breakdown of Mining Pool Payout Models
Understanding how different mining pools calculate rewards is key to choosing the right one for your risk tolerance.
| Payout Model | How It Works | Best For | Key Consideration |
|---|---|---|---|
| PPS+ | Guaranteed payment for every valid share submitted, plus a share of transaction fees. | Miners who need predictable, stable daily income to manage cash flow and electricity costs. | Higher fees are charged by the pool to cover their risk of not finding a block. |
| PPLNS | Payment is only made when the pool finds a block, based on your contribution over the last “N” shares. | Miners focused on maximizing long-term earnings who can tolerate short-term payout variance. | Income can be inconsistent; you might go through periods with lower or zero payouts. |
At the end of the day, neither model is universally “better.” The right choice depends entirely on your personal finances and how much uncertainty you’re comfortable with.
Key Factors for Evaluating a Pool
Beyond the payout model, a few other critical factors separate a great pool from a mediocre one. Don’t overlook these when vetting your options for your bitcoin miner setup.
- Fee Structure: Most pools charge somewhere between 1% and 4%. A lower fee is always nice, but make sure it isn’t a red flag for poor reliability or missing features.
- Minimum Payout Threshold: This is the smallest amount of Bitcoin you have to earn before the pool actually sends it to your wallet. A high threshold means your earnings sit in the pool’s account for longer, not yours.
- Server Latency: Geography matters. You want a pool with servers located as close to you as possible. Lower latency means your miner submits its work faster, which reduces the chance of submitting “stale” shares that you won’t get paid for.
- Track Record and Reliability: My advice? Stick with established pools that have a long history of solid uptime and dependable payouts. A brand-new pool offering unbelievable terms might be tempting, but it carries a whole lot more risk.
The Practical Setup Process
Once you’ve done your homework and picked a pool, getting connected is pretty simple.
Your first move is to create an account on their website. From your new account dashboard, you’ll need to create a “worker”—this is that unique identifier we talked about in the last section that links your physical miner to your pool account.
The final, and most critical, step is providing your personal Bitcoin wallet address. This is where your hard-earned rewards will be sent, so double- and triple-check that you’ve copied it correctly. One wrong character and your Bitcoin is gone forever.
For a more detailed walkthrough, our guide on how to join a mining pool offers excellent step-by-step instructions. By carefully weighing these factors, you can pick a pool that doesn’t just work, but actively helps maximize your revenue over the long haul.
Keeping Your Miner Humming: Monitoring and Maintenance

Getting your bitcoin miner setup running is just the start. If you think this is a “set it and forget it” venture, you’re in for a rough ride. Your hardware is a high-performance asset, and just like any other valuable piece of equipment, it needs regular attention to protect your investment and keep the profits flowing.
Long-term management is what really separates a short-lived hobby from a sustainable operation. It’s all about checking in on your miner’s health and doing some simple, proactive maintenance. This continuous loop of monitoring and care lets you catch small issues before they snowball into costly downtime or, worse, permanent hardware damage. By learning to read your machine’s vital signs, you can maximize its uptime and extend its life significantly.
Reading Your Miner’s Vital Signs
Think of your miner’s web dashboard as its EKG—a real-time report on its health. You don’t need a degree in electrical engineering, but you absolutely need to know what you’re looking at.
- Reported Hashrate: This is your miner’s raw horsepower. It should stay very close to the hashrate advertised by the manufacturer. If you see a major, sustained drop, that’s your first clue something is amiss.
- Hardware (HW) Error Rate: A few hardware errors here and there are perfectly normal. But if that number is high or climbing fast, it’s a clear warning sign. The usual culprits are an unstable overclock, not enough power, or the most common issue of all: overheating.
- Chip Temperatures: Your dashboard will almost certainly show the temperature for each hashing board. Keeping these within the manufacturer’s sweet spot (usually below 85°C) is critical for the long-term health of those precious ASIC chips.
Your miner’s dashboard is like the instrument panel in your car. You don’t need to know exactly how the engine works, but you’d better know what it means when the temperature gauge hits the red. Ignoring these warnings is a surefire way to end up with a breakdown.
A Practical Maintenance Checklist
You can head off the vast majority of common mining problems with some simple, regular maintenance. Seriously, putting these tasks on a recurring schedule is one of the smartest things you can do for your setup.
- Clean Air Filters and Fans: Dust is the mortal enemy of all electronics. It clogs up fans, smothers heat sinks, and insulates components, which inevitably leads to overheating. At least once a month, power everything down and give the intake and exhaust fans a thorough cleaning with compressed air.
- Inspect Power Connections: These machines pull a massive amount of power, and that continuous load can cause connections to wiggle loose over time. Periodically give your power cables a check to make sure they’re seated firmly in both the PSU and the miner. A loose connection isn’t just a performance issue; it’s a serious fire hazard.
- Verify Ventilation: Make sure your cooling plan is actually working. Are your exhaust fans spinning freely? Is anything blocking the airflow into or out of your mining space? A misplaced box or a dusty vent can make a huge difference.
Squeezing Out More Efficiency
Once you’ve got basic upkeep down, you can start looking at advanced tweaks to improve your rig’s efficiency and profitability. One of the most effective, though seemingly counterintuitive, strategies is underclocking. This means you intentionally dial back the miner’s frequency and voltage.
Yes, this lowers your total hashrate, but it can slash your power consumption by an even greater percentage. The goal is to improve your overall efficiency (measured in J/TH), finding that perfect balance between performance and your electricity bill. This is especially vital when profit margins are razor-thin.
And right now, they are. The mining environment has become brutally competitive. The April 2024 halving event cut block rewards from 6.25 BTC to 3.125 BTC, while network difficulty has shot to the moon. This has squeezed margins and pushed smaller players out, allowing giants like Marathon Digital to amass holdings of over $4.4 billion in Bitcoin. For the rest of us, optimizing for efficiency isn’t just a neat trick—it’s a survival strategy. You can dig deeper into these crypto mining industry trends on Chainup.com. Being proactive is how you thrive in a market this challenging.
In short, successful mining is an ongoing process. Regular monitoring of your miner’s stats and a consistent maintenance schedule are non-negotiable for protecting your hardware and ensuring long-term profitability.
Frequently Asked Questions (FAQ)
How much can I realistically earn with a single ASIC miner?
Profitability is a moving target and depends on three main things: your ASIC’s efficiency (J/TH), your electricity cost, and the current Bitcoin price and network difficulty. A modern miner can be profitable, but you must use an online mining calculator with your specific electricity rate to get a realistic estimate. A setup that’s profitable today might not be next month, so constant evaluation is key.
What are the most common mistakes new miners make?
The two biggest mistakes are underestimating electricity costs and neglecting proper cooling.
- Power Costs: An ASIC runs 24/7, and that constant power draw adds up quickly. Calculate your total monthly electricity bill before buying hardware.
- Cooling: Heat is the number one cause of hardware failure. Without good ventilation, your miner will overheat, lose performance, and eventually break. A solid cooling plan is essential.
Can I mine Bitcoin with a normal computer or GPU?
No, not anymore. In Bitcoin’s early days, this was possible, but the network difficulty has grown exponentially. Today, Bitcoin mining requires specialized ASIC hardware designed specifically for the SHA-256 algorithm. Using a CPU or GPU would consume electricity with virtually no chance of earning any rewards.
How should I secure my mined Bitcoin?
Protecting your earnings is as important as making them. Follow these simple rules:
- Use a Non-Custodial Wallet: Always use a wallet where you control the private keys.
- Get a Hardware Wallet: For the best security, use a hardware wallet from a trusted brand like Trezor or Ledger. This keeps your keys offline and safe from hackers.
- Avoid Storing on Exchanges: Don’t have your mining payouts sent to an exchange for long-term storage. You are trusting them with your funds, which exposes you to their security risks.
- Sweep Funds Regularly: Move your earnings from the mining pool to your personal secure wallet on a regular basis. Don’t let large balances build up in your pool account.