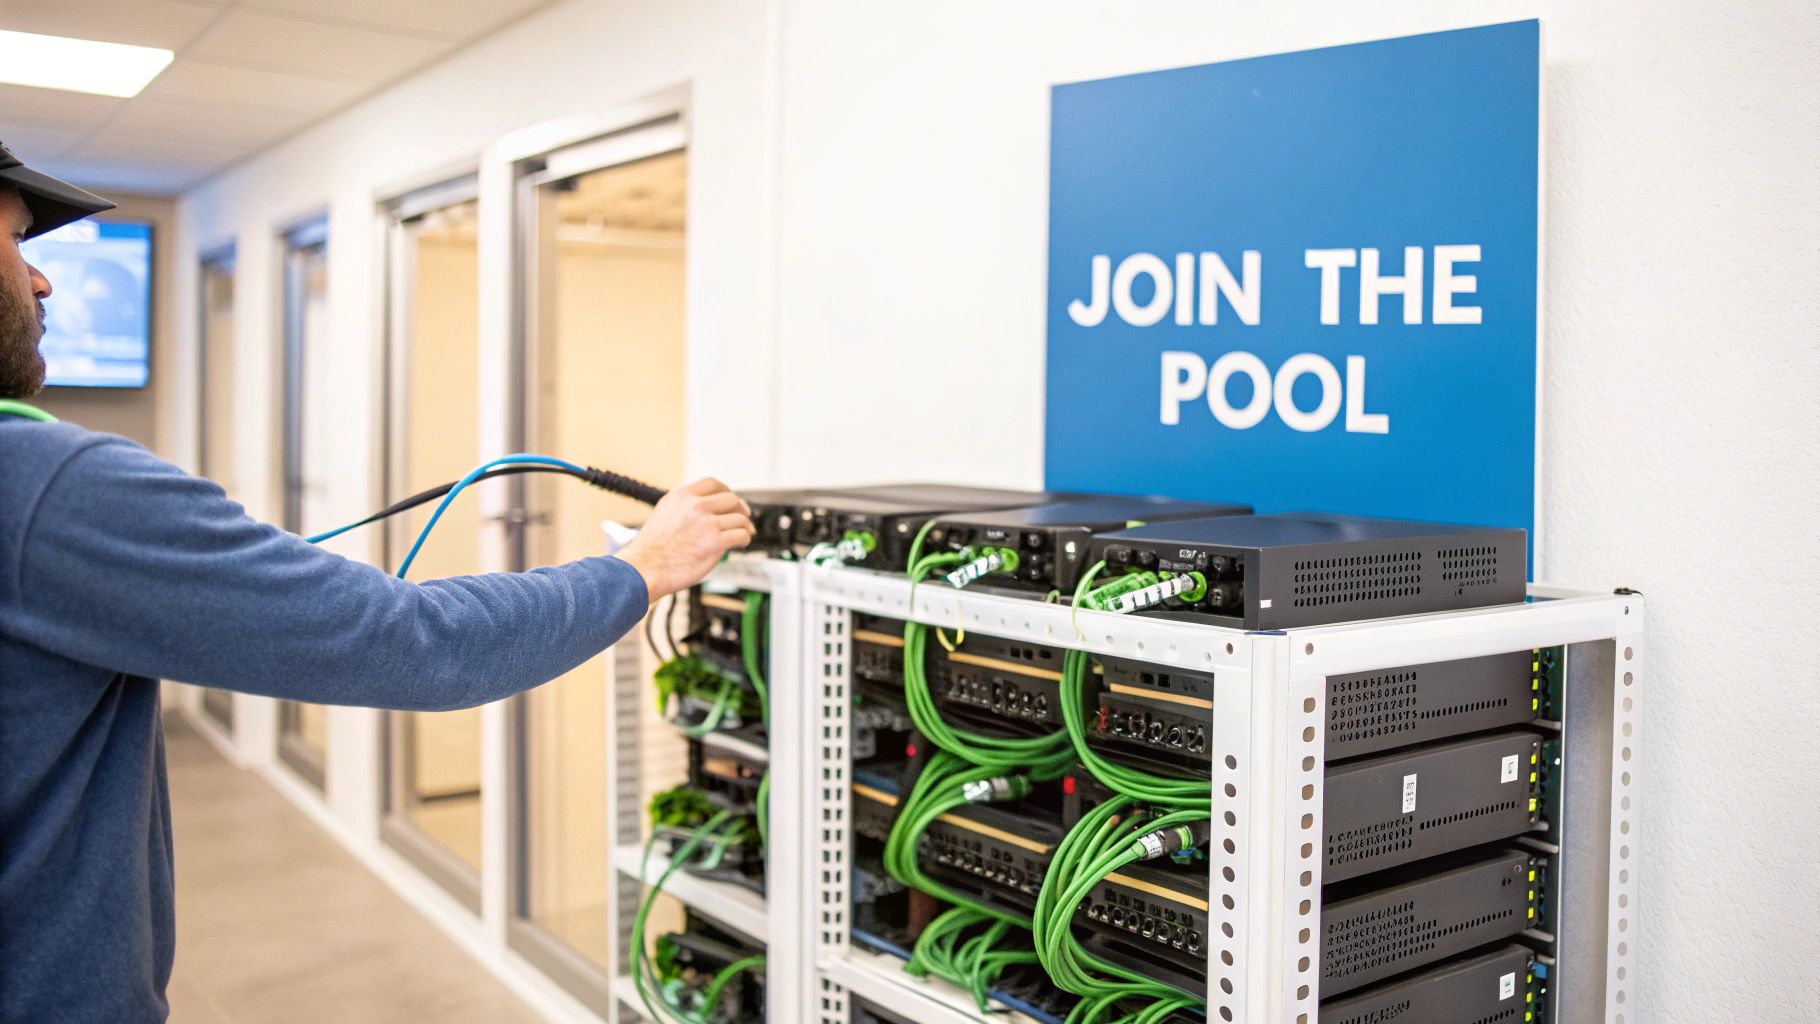
How to Join a Mining Pool
Joining a mining pool is a straightforward process, but getting it right from the start is what separates a profitable rig from a glorified space heater. The basic idea is simple: you connect your hardware to a pool, combine your computing power with other miners, and split the rewards. This is how you turn a solo gamble into a consistent, predictable operation.
Why Pool Mining Is Your Best Bet
Let’s be blunt: trying to solo mine a major cryptocurrency like Bitcoin is a fool’s errand for just about everyone. The sheer scale of the network’s hashrate means your chances of finding a block on your own are statistically insignificant. It’s like trying to win the Powerball every single day.
That’s where mining pools come in. A pool is essentially a team of miners all working together to solve blocks. Instead of waiting for a lottery win that might never come, you contribute your hash power and earn a steady stream of smaller, more frequent payouts. It smooths out the variance and makes mining a viable venture.
Understanding the Core Concepts
To really get why this works, you need to know the lingo:
- Hashrate: This is your rig’s raw processing power—how many calculations it can run per second. The more hashrate you have, the more you contribute to the pool’s effort.
- Block Reward: This is the prize. When a block is successfully solved, the network rewards the finder with newly minted coins and transaction fees. In a pool, this reward is shared.
- Shares: Think of these as your proof-of-work. Your miner submits “shares” to the pool, which are like partial solutions. They don’t solve the block, but they prove your hardware is pulling its weight and entitle you to a cut of the final reward.
In summary, this collaborative approach is what makes mining profitable for the average person. Everyone plugs in, contributes their power, and the pool coordinates the effort to increase the odds of success for the entire group.
The Power of Collective Hashrate
The mining landscape is dominated by a handful of massive pools. For Bitcoin, just 10 to 15 major players control most of the network. Foundry USA, for instance, often commands around 277 EH/s, which is roughly 31.58% of the entire Bitcoin network hashrate. Giants like Antpool and ViaBTC aren’t far behind. When you join one of these pools, you’re plugging your rig into a massive, block-finding machine, which is why your payouts become so consistent.
Key Takeaway: For nearly every miner out there, joining a pool isn’t just a good idea—it’s the only practical path to earning a reliable return. It changes mining from a speculative lottery into a business with more predictable cash flow.
While big, centralized pools are the go-to for stability, decentralized options are gaining ground. You can dive into alternatives like the peer-to-peer P2Pool, which offers a different model with its own pros and cons. No matter which you choose, pooling your resources is the name of the game in modern crypto mining.
How to Choose the Right Mining Pool
Picking a mining pool isn’t just a technical checkbox; it’s one of the most critical decisions you’ll make, directly impacting how much you earn and how often you get paid. It’s tempting to just go with the first big name you see, but the reality is that the best pool for a professional with a dedicated farm is rarely the right choice for a hobbyist running a single GPU.
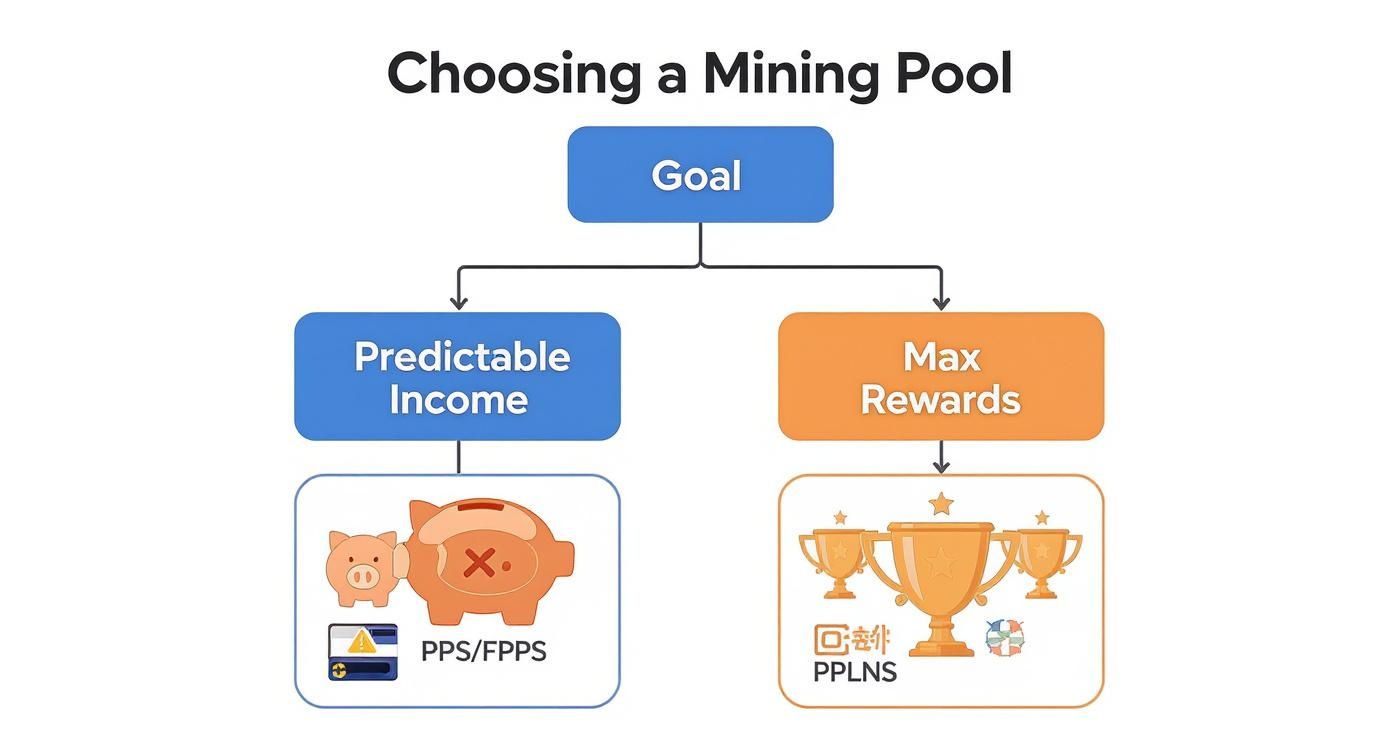
The entire decision really boils down to a trade-off: do you want predictable, steady income, or are you willing to stomach some volatility for potentially higher long-term rewards? This is where understanding the different payout models becomes essential.
Breaking Down Payout Models: PPS vs. PPLNS
The payout model is simply the set of rules a pool uses to slice up the rewards and distribute them to its miners. The two you’ll run into most often are Pay-Per-Share (PPS) and Pay-Per-Last-N-Shares (PPLNS), and they approach risk in completely different ways.
- Pay-Per-Share (PPS/FPPS): Think of this as a salaried job. You get paid a fixed rate for every valid share your miner submits, period. It doesn’t matter if the pool finds a block or hits a dry spell—you get paid. The pool operator takes on all the risk of mining luck, but they charge for it. This is why PPS fees are higher, typically falling between 2% to 4%.
- Pay-Per-Last-N-Shares (PPLNS): This model is more like getting paid on commission. You only earn when the pool successfully finds a block, and your payout is based on how many shares you contributed during a specific recent time window (the “N” shares). For loyal miners who stick with a PPLNS pool, the rewards can be greater thanks to much lower fees, often 0% to 1%. The catch? Your income will have peaks and valleys.
Expert Takeaway: If you’re new to this, start with a PPS or FPPS pool. The steady income stream is invaluable. It helps you easily calculate your real-world profitability and verify that your hardware is running correctly, all without the confusing variable of “pool luck.” Once you’re comfortable and have a good handle on your setup, then you can start crunching the numbers to see if a switch to PPLNS makes more sense for you.
And if you’re still getting your bearings, our comprehensive guide on how to start crypto mining is the perfect place to begin before you dive into pool selection.
To make this clearer, let’s compare the most common payout models side-by-side.
Mining Pool Payout Model Comparison
Each payout model offers a different balance of risk, reward, and predictability. The table below breaks down the key differences to help you decide which one aligns with your personal mining strategy.
| Payout Model | How It Works | Typical Fee | Payout Variance | Best For |
|---|---|---|---|---|
| PPS (Pay-Per-Share) | Miners receive a fixed payment for each valid share submitted, regardless of whether the pool finds a block. The pool absorbs all the risk. | 2% – 4% | Very Low | New miners and those who prioritize predictable, guaranteed income over potentially higher, but variable, rewards. |
| FPPS (Full-Pay-Per-Share) | An evolution of PPS. Miners get paid for each share and a portion of the network transaction fees from the blocks found by the pool. | 2% – 4% | Very Low | Miners on networks with high transaction fees (like Bitcoin) who want predictable income that also captures fee revenue. |
| PPLNS (Pay-Per-Last-N-Shares) | Miners are paid based on their contribution to the last ‘N’ shares submitted after a block is found. Rewards are only distributed on successful blocks. | 0% – 1% | High | Loyal, long-term miners who are comfortable with income volatility and want to maximize their earnings via lower fees. |
| SOLO | You keep 100% of the block reward and transaction fees, but only if your miner solves the block. You are effectively competing against the entire network. | 0% – 1% | Extremely High | Miners with a massive amount of hashrate who can realistically expect to find a block on their own within a reasonable timeframe. |
The bottom line: There’s no single “best” model. The right choice depends entirely on your risk tolerance and how much hashrate you’re bringing to the table.
Factors to Consider Beyond Payouts
The payout model is a huge piece of the puzzle, but other details can seriously affect your actual, take-home earnings. Don’t overlook these practical factors when choosing your pool:
- Server Latency and Location: The physical distance between you and the pool’s server matters. This distance creates latency, or “ping.” A high ping increases the chance you’ll submit “stale shares”—work that was valid but arrived a split-second too late. You don’t get paid for stale shares. Always pick a pool with a server geographically close to you.
- Pool Size (Total Hashrate): Bigger isn’t always better, but it does mean more consistent payments. A pool with a large share of the network’s total hashrate finds blocks much more frequently. This is especially important on a PPLNS pool, where more frequent blocks mean a steadier, more predictable income stream. Stick with established pools with a stable hashrate, which you can check on sites like MiningPoolStats.
- Minimum Payout Threshold: This is the smallest balance you need to build up before the pool will send the funds to your wallet. If a pool has a high minimum payout and you have a small mining rig, you could be waiting for months just to get your first payment. Find a pool with a low, reasonable payout threshold that works for your hashrate.
- Pool Fees and Reputation: While the payout model dictates the fee structure, the actual percentage can vary. A reputable pool will be transparent about its fees. Check online forums and communities to gauge the pool’s reputation for reliability and honest payouts. A pool like Spiderpool offers a stable income with a 0%-4% fee, while others like ViaBTC support over 20 coins and merged mining.
Setting Up Your Wallet and Pool Account
Alright, you’ve pinpointed the right pool. Now it’s time to set up the plumbing—the digital framework that gets your earnings from the pool into your pocket. This boils down to two key pieces: a secure crypto wallet to hold your coins and an account with the mining pool itself. Nailing this part is non-negotiable if you want your operation to be secure and, well, profitable.
First things first: your wallet. This is where your freshly mined crypto lands, so its security is everything. If there’s one thing to take away from this guide, it’s this: you must control your own private keys. If you don’t have the keys, you don’t actually own the crypto. Simple as that.
Choosing the Right Wallet
You’ve got a few options here, each with its own trade-offs between Fort Knox-level security and everyday convenience.
- Hardware Wallets: Devices like a Ledger or Trezor keep your private keys completely offline, making them the gold standard for security against online hacks.
- Software Wallets: These are apps on your computer or phone. They’re convenient but only as secure as the device they’re installed on.
Our recommendation: For stacking mining rewards long-term, a hardware wallet is the only way to go. For smaller amounts or more frequent transactions, a well-regarded software wallet can do the job, but do your homework and stick to trusted developers.
Your choice of pool payout model often influences how you think about your wallet setup. This decision tree gives a good visual.
As you can see, if you’re chasing predictable income with a PPS/FPPS pool, you’ll be getting regular payouts. That means you need a wallet that’s both secure and reasonably accessible.
Creating Your Pool Account
With your wallet address ready, navigate over to your chosen mining pool’s website. The sign-up process is usually pretty standard, but this isn’t the time to get lazy with security.
- Use a Strong, Unique Password: Don’t reuse a password from another site. A password manager is your best friend here.
- Enable Two-Factor Authentication (2FA): This isn’t optional. Set it up immediately using an app like Google Authenticator or Authy. This single step throws up a massive wall against anyone trying to hijack your account.
Crucial Tip: Treat your mining pool account with the same paranoia you’d apply to your online banking. A compromise here means your hashrate—and your future income—could be stolen right from under you.
Once you’re registered, your next move is to create a “worker.” A worker is just a name you give to each of your mining rigs. It’s how the pool tracks the work done by each machine and makes sure the credit goes to your account.
Setting Up Your Worker
You’ll find a “Workers” or “Miners” section in your pool dashboard. Creating one is a breeze.
- Worker Name: Pick something descriptive.
Rig01orASIC-S19works much better thanworker1, especially once you have multiple machines running. - Password: Some pools ask for a worker password. This is typically just for the configuration file; something simple like
xor123is usually fine.
The final format will look something like YourUsername.WorkerName. So, if your username is MinerJoe and you named your worker GPUrig1, your full worker ID would be MinerJoe.GPUrig1. This is the exact ID you’ll plug into your mining software later.
With a wallet ready to catch your coins and a worker configured, you’re almost ready to start hashing. If you want to see how different pools handle their dashboards and worker setups, check out the massive list over at MiningPoolStats.
Pointing Your Hashrate: Connecting Your Miner to the Pool
Alright, you’ve picked a pool, set up your account, and have a wallet address ready. Now for the most important step: telling your mining rig where to send all that hard-earned hashrate. This is where the digital meets the physical.
The basic idea is the same whether you’re running a purpose-built ASIC or a custom GPU rig. You’re simply giving your machine a set of coordinates—the pool’s server address, your username, and a worker name—so it can connect and get credit for its work.
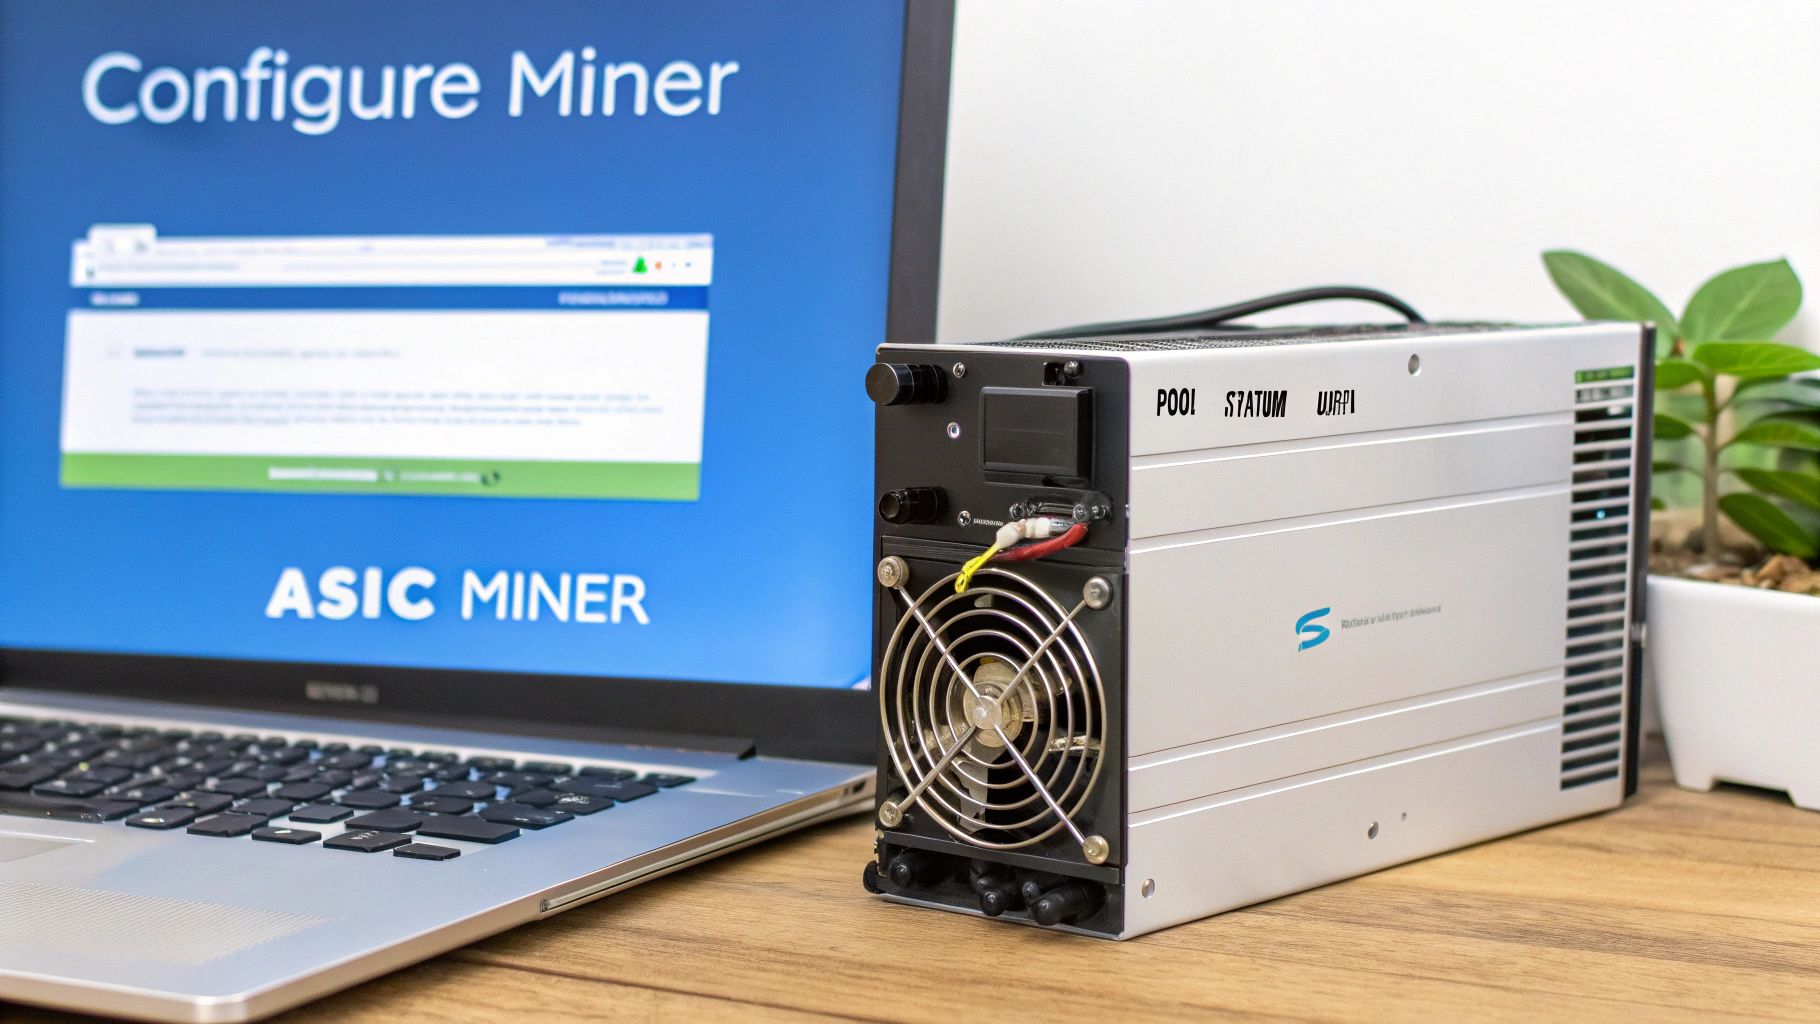
Connecting an ASIC Miner
ASICs are beasts of efficiency, and thankfully, they’re also incredibly straightforward to configure. These machines run their own lean operating system with a simple web interface.
Here’s the step-by-step process:
- Find your ASIC’s IP Address: Check the list of connected devices in your router’s admin panel or use a manufacturer-provided IP scanner tool.
- Log In: Enter the IP address into your web browser. The default credentials are often
rootfor both username and password. - Configure Pool Settings: Navigate to the “Miner Configuration” section. Here’s where you’ll plug in the details from your pool. It’ll look something like this:
- URL:
stratum+tcp://us-east.stratum.slushpool.com:3333 - Worker:
YourPoolUsername.ASIC-01 - Password:
x(or whatever the pool requires)
- URL:
- Save and Apply: The ASIC will reboot its mining process, and within a few minutes, you should see your worker pop up as active on your pool’s dashboard.
Configuring a GPU Mining Rig
GPU mining gives you more control, but it requires getting a little more hands-on. Instead of a web dashboard, you’ll be editing a basic text file—usually a .bat file on Windows or a .sh file on Linux—to launch your mining software.
Popular miners like GMiner, T-Rex, or lolMiner all come with pre-made script files. Your job is to swap the placeholder details with your own.
Pro Tip: Before you edit anything, make a copy of the original script file. I always name my copy something obvious, like
mine-etc-2miners.bat. That way, I have a clean template to go back to if I mess something up.
Let’s walk through a real-world example. Say you’re mining Ethereum Classic (ETC) on the 2Miners pool using GMiner. The text inside your .bat file would look like this:
@echo off

:: The algorithm for Ethereum Classic
set ALGO=etchash

:: Your pool's stratum server address and port
set POOL=etc.2miners.com:1010

:: YOUR Ethereum Classic wallet address goes here
set WALLET=0xYourWalletAddressGoesHere

:: A name for your rig so you can identify it on the pool's site
set WORKER=%WALLET%.MyGPURig

:: This line runs the miner. No need to change it.
miner.exe --algo %ALGO% --server %POOL% --user %WORKER%

pause
As you can see, you just need to replace the POOL, WALLET, and WORKER variables. Save the file, double-click it, and a command window will fire up. If everything is correct, your rig will start hashing.
A Quick Word on Stratum V1 vs. Stratum V2
When you enter that server address (stratum+tcp://...), you’re using a protocol called Stratum. Stratum V2 is the successor to the classic Stratum V1, and it’s simply better. It’s more efficient, which can reduce your stale share rate, and far more secure because it encrypts the connection.
| Feature | Stratum V1 | Stratum V2 |
|---|---|---|
| Data Efficiency | Less efficient; sends more redundant data. | Highly efficient; uses a compact binary protocol. |
| Security | Communication is unencrypted by default. | End-to-end encryption is a core feature. |
| Decentralization | Miners receive pre-set work from the pool. | Allows miners to construct their own block templates. |
| Adoption | Universally supported. | Growing, but not yet supported by all pools. |
The takeaway: If your pool offers a Stratum V2 address, use it. The setup is identical—you just use the V2 server address and port they provide. It’s a small change for a much more robust and secure connection.
Monitoring Performance and Payouts
Alright, your miner is humming along and connected to the pool. So, what’s next? It’s time to see if all that work is actually paying off. This is where you’ll get familiar with your mining pool’s dashboard—think of it as your mission control for the entire operation.
Learning to read the data on your dashboard is the key to understanding your miner’s performance, spotting problems, and tracking your earnings.
Making Sense of Your Dashboard
When you first log in, focus on two key metrics: your hashrate and your shares.
- Reported Hashrate: This is the number you see in your mining software’s console. It’s what your hardware is theoretically producing.
- Pool-Side Hashrate: This is what the pool thinks you’re doing, calculated from the valid work (shares) you’re sending. This number will always fluctuate; as long as the average over a few hours looks close to what you expect, you’re in good shape.
The real story, though, is in the quality of the shares you’re submitting. These shares are your proof-of-work, and they come in a few different flavors.
| Share Type | What It Means | Common Causes of Problems |
|---|---|---|
| Valid | These are the golden ticket. They’re correct, on-time, and they earn you crypto. | N/A (This is what you want!) |
| Stale | This was a valid share, but you sent it in too late—someone else found the block first. | High latency to the pool server is the usual culprit. A rate under 2% is normal. |
| Invalid | These are just wrong. The pool rejects them outright, and you get nothing for them. | Almost always caused by an unstable overclock on your hardware or not enough power. |
A stale rate under 2% is perfectly normal. Invalid shares, on the other hand, are a major red flag. If you see any of these, it’s time to dial back your hardware settings immediately.
From Shares to Payouts
Once you’ve got a steady flow of valid shares coming in, you’ll see your unpaid balance on the pool start to grow. Most pools have a minimum payout threshold, which is the smallest balance you need to build up before they’ll send you a transaction. You can almost always change this number in your account settings.
Pro Tip: Don’t set your payout threshold too low, or you’ll get eaten alive by network transaction fees. Set it too high, and your crypto is sitting in the pool’s wallet instead of yours. A good rule of thumb is to aim for a payout about once a week.
The mining world is dominated by a few massive pools. In 2025, behemoths like Foundry USA (27.81% market share) and Antpool (21.12%) control a huge chunk of the hashrate. Miners flock to them because they’re reliable and pay out like clockwork. You can get more details on these market trends on Coinlaw.io.
After you get that first notification that a payout has been sent, verify it. Just copy your wallet address and paste it into a block explorer for whatever coin you’re mining (like Blockchain.com for Bitcoin). You should see the transaction right there, permanently recorded on the blockchain. It’s the final proof that the crypto is now 100% yours.
Frequently Asked Questions (FAQ)
Here are answers to some of the most common questions new miners have after joining a pool.
How do I calculate mining pool profitability?
To estimate your earnings, you’ll need a mining profitability calculator. These online tools ask for a few key inputs:
- Your hashrate (e.g., 100 TH/s for Bitcoin)
- Your hardware’s power consumption (in watts)
- Your electricity cost (in $/kWh)
- The mining pool’s fee (e.g., 1% or 4%)
The calculator will then estimate your daily, weekly, and monthly earnings after factoring in all these costs. Remember, this is an estimate, as network difficulty and coin price are always changing.
Can I mine on multiple pools with one rig?
No, you can’t mine on multiple pools simultaneously with the same hardware for the same coin. Your rig can only dedicate its hash power to one task at a time.
However, you should set up failover pools. Most mining software allows you to list a primary, secondary, and tertiary pool. If your main pool goes offline for maintenance, your software will automatically switch to the next one on the list, preventing downtime and lost earnings.
Is it safe to give a mining pool my wallet address?
Yes, this is 100% safe and is exactly how the system is designed to work. Your public wallet address is like a bank account number; it only allows people to send funds to you. No one can access or withdraw your crypto with just this address.
The golden rule is to never, ever share your private keys or seed phrase. Those are what grant access to your funds. Keep them offline and secure, always.
What is the difference between stale, valid, and invalid shares?
Understanding these three terms is critical to diagnosing your miner’s performance.
- Valid Shares: The goal. A correct solution submitted on time. These earn you crypto.
- Stale Shares: A correct solution submitted too late. This is usually due to network lag. A stale rate under 2% is normal.
- Invalid Shares: An incorrect solution, rejected by the pool. This is a red flag for unstable hardware, usually from an aggressive overclock. You should have 0% invalid shares.
Think of it this way: Valid shares are winning lottery tickets. Stale shares are winning tickets you tried to cash in after the prize was claimed. Invalid shares are tickets with the wrong numbers.